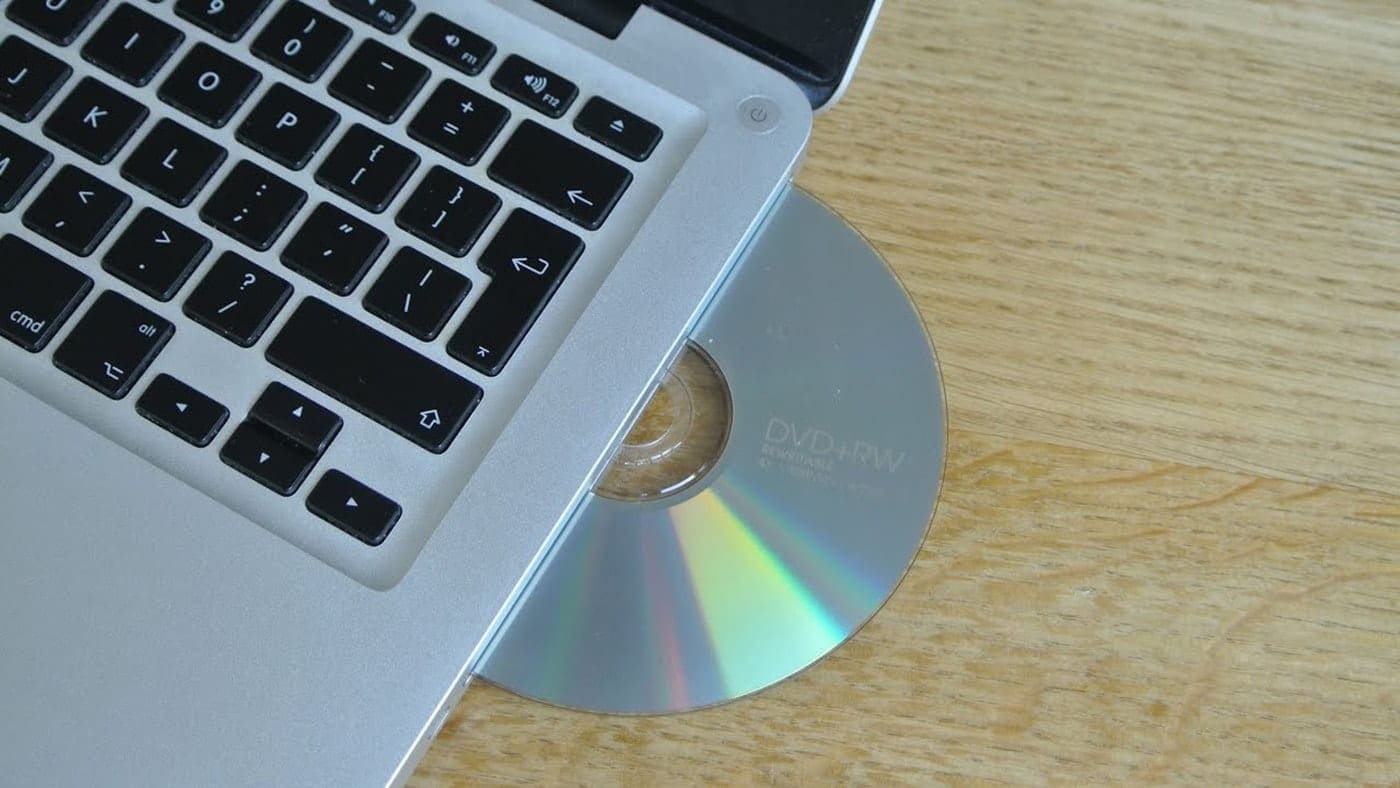
Apple allows users to connect external storage devices like DVD or CD to MacBook Pro. What if the DVD or CD gets stuck inside Mac’s optical drive? Click the “eject” option from the macOS taskbar in certain circumstances. Press the “Eject” button from the MacBook Pro’s built-in keyboard.
Usually, this problem occurs when the CD or DVD isn’t set into the disc tray correctly. A damaged optical drive tray can lead to this problem. The playback programs can prevent you from ejecting these storage units.
Did you insert a broken or scratched disc inside the drive tray? It could cause issues while removing stuck DVDs and CDs from the MacBook Pro. Check the system requirements before interesting the discs.
How to Remove Stuck DVD’s & CD’s from the MacBook Pro?
Like Windows PCs, Mac devices don’t have an external eject button on the CD/DVD drive. Instead, Apple included optical drives to respond to the user’s command to open or close the discs. The MacBook Pro users can eject CDs or DVDs by using these commands.
Moreover, there are other ways to remove stuck DVDs and CDs from the MacBook Pro. Follow these step-by-step instructions to resolve this disc-related issue:
Restart the Mac Device
Sometimes, rebooting the device might help you eject the DVD/CD. Did you connect a mouse to the MacBook Pro? Then, hold down the mouse button while restarting the device. But, if you don’t have a mouse connected, press and hold the trackpad/touchpad button instead.
Wait for at least 5-10 minutes when the MacBook Pro turns on. It will eject the discs automatically that are inside Mac’s optical drive.
Use a Reliable Software
There are a few tools available for the MacBook Pro to eject the optical media. But, before installing any of these programs, certain factors need to be determined. Make sure the application is compatible with the macOS. Otherwise, you might end up losing the data that is stored on the CD or DVD.
Download a disc ejection tool that is easy to use. Additionally, you need to check how much space the app takes to install. Remove the unwanted programs from the MacBook Pro to use these tools without hassle. Open the application, choose the CD or DVD name, tap on “OK” to forcefully remove them from the disc tray.
Open the OS X Terminal
MacBook Pro users can remove the CDs or DVDs using the “drutil” command line. And, for that, you need to access the macOS X terminal.
Have you opened this built-in Mac application? If no, then first, click “Applications”, select “Utilities”, and tap on “Terminal” afterwards.
Now, write “drutil eject” and press the “Enter” key. Wait for at least 2-3 minutes and check if the Mac device removes the discs from the drive tray. If that doesn’t fix this issue, write “drutil eject external’ instead in the Terminal app. Close the app’s window, and remove the discs gently without breaking them.
Add the Disc on Mac’s Trash Bin
Mac devices fail to recognise the CDs or DVDs if you haven’t ejected the discs correctly the last time. Press the “Eject” key first and click the “disc” icon in certain circumstances. Drag it to the MacBook Pro’s “trash bin” and right-click on it.
Choose “Eject” when the pop-up menu appears and hold down the “Command” key for a few seconds. Now, press the “E” key to remove the CD or DVD that is stuck inside the disc tray. If that doesn’t resolve this error, check the MacBook Pro keyboard. Replace the “Command” or “ E” keys immediately if they have stopped responding.
Boot the MacBook Pro in Single-User Mode
Enable Mac’s single-user mode to troubleshoot this disc-related issue. But, first, turn on the device press the Command and S keys simultaneously. Release these keys when a black screen appears on the MacBook screen. This indicates you have entered into the single-user mode successfully.
Provide the admin password if prompted. Click “Yes” when the confirmation message pops up and write “/usr/bin/drutil eject”. Press the “Enter” key to eject the problematic CD or DVD safely from the MacBook Pro’s optical drive. Write “reboot” on the single-user mode screen, restart the device and re-insert the discs. It won’t get stuck again after implementing this solution.
Use a Cardboard
Do you have thin cardboard? Use that to eject CDs or DVDs if the above solutions don’t fix the problem. Use a credit card if you don’t have any paper materials.
Insert that into the gap until it touches the discs to prevent the Mac device reading them.
Now, press the “Eject” button 4-5 times without removing the cardboard or paper. It will remove the discs from the disc tray within a few seconds.
Press the Function Key
Hold the MacBook Pro’s “F12” key until the CD or DVD is ejected from the drive. This might take a few minutes, so don’t release the button until then.
Did you fail to remove the discs from the device? Then, open the Disk Utility application instead to fix this error.
Go to the “Finder” menu, click “Go”, and choose “Utilities” afterwards. Double-tap on the “Disk Utility” option head to the “SuperDrive” section to locate the disc’s name. Tap on the right CD or DVD option and choose the eject command. It will remove the stuck discs from the MacBook Pro’s drive immediately.
Alternative Ways to Remove Stuck DVDs or CDs from the MacBook Pro
There are several other ways to eject stuck discs from this Apple product. Restart the device while holding the “Option” key to get into the Startup Manager. Release this key when the new window opens and press the “eject” button. The disc tray will come out with the CD or DVD after this.
If none of these solutions work, remove the optical drive using a screwdriver. Take out the CD or DVD when the tray opens and re-insert it after a while. But, don’t try this solution if you don’t have technical experience or skill. Instead, contact the MacBook Repair India experts to get effective troubleshooting tips.


